It is always smart to use your tools to their maximum capability and potential. Mounting a ball hitch to your lawnmower makes it a multifunctional and versatile tool, for you’ll be able to use it for several different purposes. You can use the lawnmower then, not only for cutting the grass but also for towing water across the lawn or even attaching your utility trailer for carrying other tools or logs across the lawn.
Attaching a ball hitch to your lawn tractor is not rocket science, but you need to follow a step-by-step process to do the same correctly. If you are looking for guidance for mounting the hitch to your tractor, then you’re at the right place. This article will help you with the task so read ahead to know more about it.
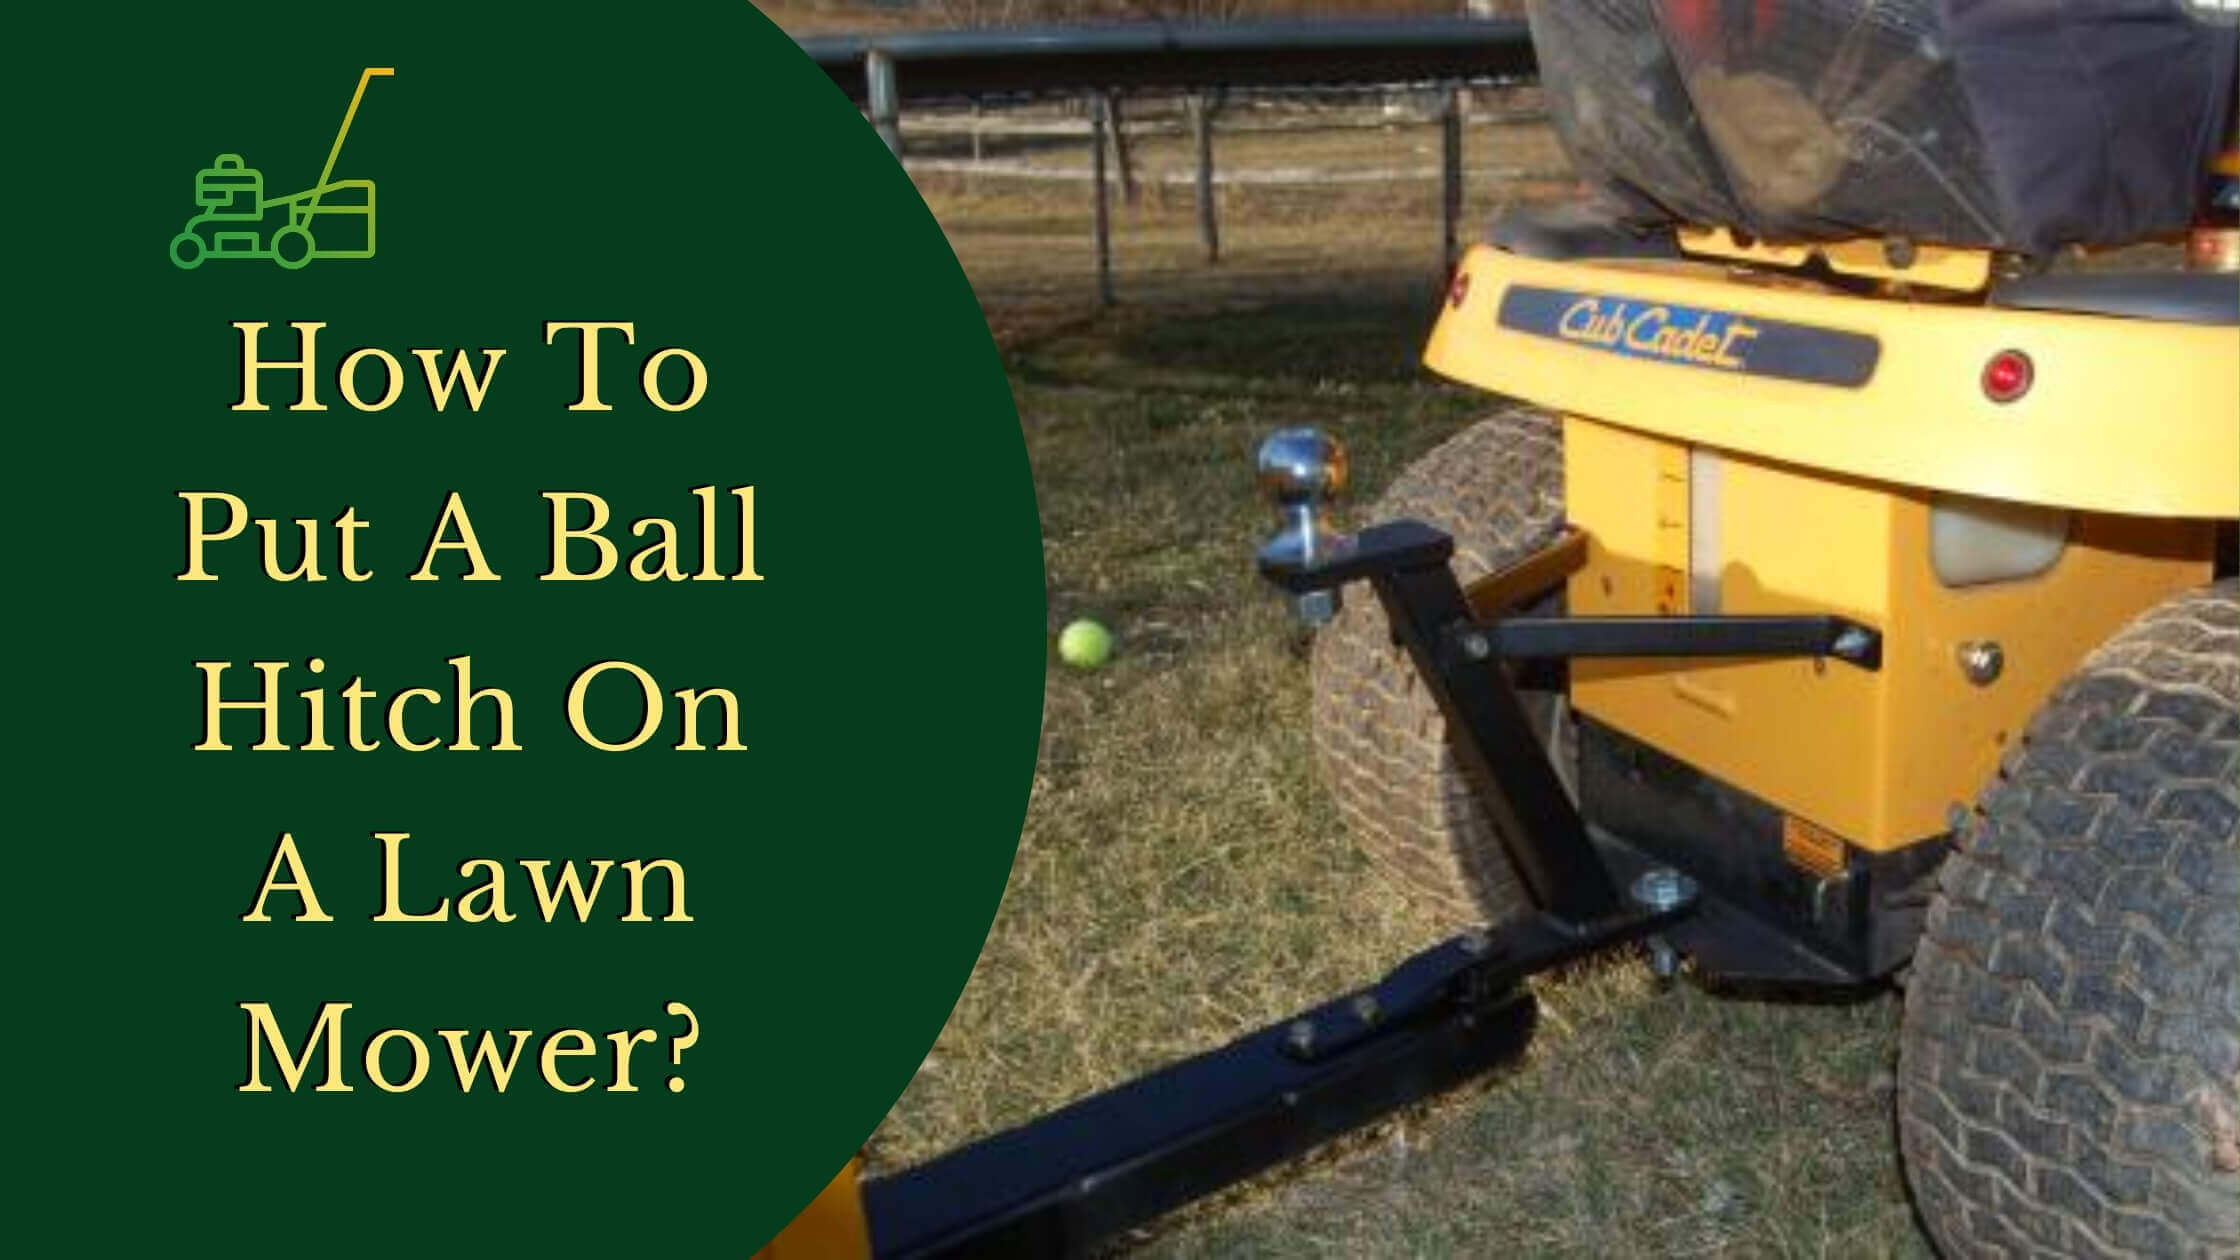
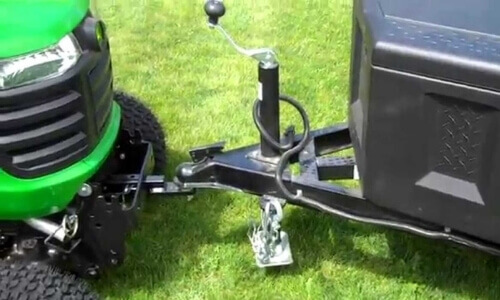
How To Put A Ball Hitch On A Lawn Mower?
The first thing that you need to do is buy a ball hitch package or kit. Make sure to buy it from a branded company so that the kit’s quality can be ensured. Another thing to remember is that different tractors have different towing limits, so you need to be aware of the towing limit offered by your garden tool.
Your ball hitch kit will come with the necessary tools required for attaching it to the trailer, such as bolts, a flat washer, brace arms, and a few extra tools like a drill machine and pliers. It is always a better way to have all the tools around you from the start, so now you don’t have to waste your time looking for them later. Now, follow the steps mentioned below to mount the ball hitch on your lawnmower properly.
Step 1: Attach Brace Arms to The Hitch Body
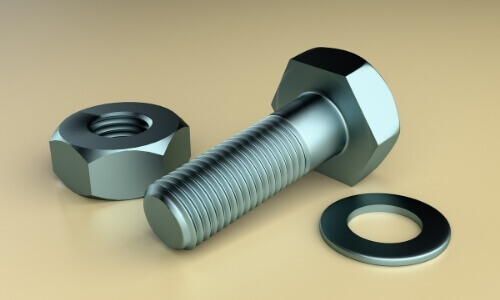 The first thing that you need to do is attach the brace arms to the hitch body with some bolts and a flat washer. Place two flat washers below the bolts. Make sure to tighten the brace arms but not too much. Check whether or not the brace arms swindle properly, as that will make sure if you have attached them in the right way.
Step 2: Ball Hitch On A Lawn Mower
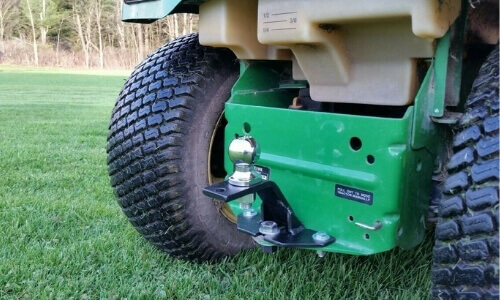 After attaching the pair of brace arms to the hitch body, now you have to join the hitch body with your mower. There’ll be a hole on the rear of your mower, and using a locknut, attach the hitch body to the mower. Use a flat washer and place it beneath the locknut. Tighten the hitch body to the mower to ensure that it does not come off later.
Step 3: Hitch Body With Your Mower
 Now, using a drill, mark the place on the rear of the mower where you’ll be drilling the holes. You have got to mark the place properly because you can’t undo it after drilling the holes. After marking, use the proper drill size and make the holes. Place the brace arms in the holes, and by using bolts and flat washers, secure it in its place. Make sure to tighten it so that it does not get loose.
After this, just attach the ball by putting it over the hitch, and this will be it. It’s done.
Bottom line:
If you follow these simple steps correctly, then you’ll get the results you want, and you’ll have your towing carrier connected to your lawnmower in no time. Also, take the utmost precaution of wearing goggles when drilling and disconnecting the lawnmower’s cable before you begin with the process. It is vital to take care of all the safety measures so that you do not end up hurting yourself. I hope you liked the article and learned from it for your future uses.